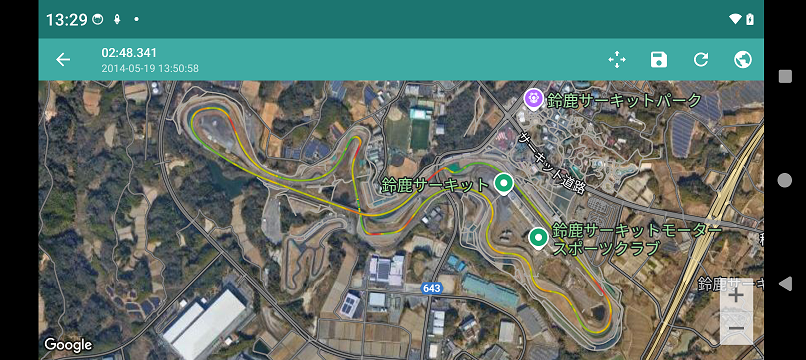
Selecting the “Adjust driving line” menu item on the log analysis screen moves to the driving line adjustment screen.
| start adjustment | Start adjustment. When adjustment is started, the driving line is fixed on the screen. (The driving line does not move when the Google Maps moves.) | |
| stop adjustment | Stop adjustment. When adjustment is stopped, the driving line is fixed on the Google Maps. (Moving the Google Maps will also move the driving line.) | |
| save | Save adjustment. Saved adjustments are apply in the driving line on the log analysis display. | |
| reset | Reset adjustment to the initial state. | |
| map type | Select Google Maps maps from Aerial Photo, Map, Aerial Photo + Map. |
Adjust driving line Screen (start adjustment)
When “Start Adjustment” is selected from the menu, the up/down and left/right arrows appear on the screen and the driving line is fixed on the screen.
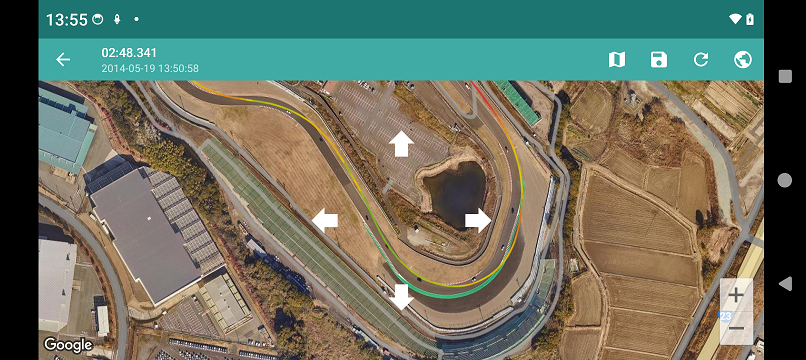
In this state, the position of the driving line is adjusted by moving the map up, down, left, or right.
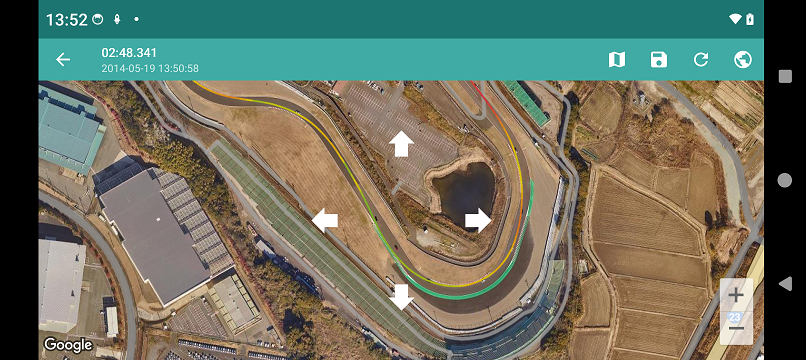
When the adjustment is complete, select the “Save” menu to save the adjustment.
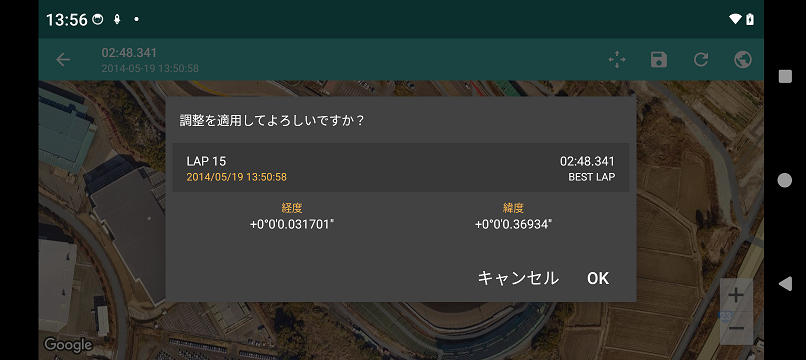
When the adjustment is complete, select the “Save” menu to save the adjustment.